Creality 3D Scanning Marker 3mm: Are These Sticker Dots Worth Buying
This is a set of round adhesive markers, 3mm each, that the scanner reads as reference points and uses to hold its position in space — without them, large, symmetrical, or smooth objects constantly cause the scanner to "lose" tracking and the stitched scan falls apart. Costs pennies, works like a small miracle, but peeling them off the finished model is its own hassle. If you scan small textured parts, skip it; if you scan large smooth objects or repeating shapes, grab it upfront and save yourself the trouble later.
Ever tried scanning something big and featureless — a cabinet door, a car hood, a wall, a large flat panel — and had the scanner suddenly "lose it" halfway through? The point cloud breaks apart, the model in the software glues itself back together at some bizarre angle, and you realize you're starting over. Familiar territory. It's not a broken scanner or clumsy hands — it's simply the physics of structured light: the algorithm has nothing to latch onto when the surface is uniform and symmetrical. That's where a small detail almost nobody thinks about until they've been burned by it comes in — marker dots.
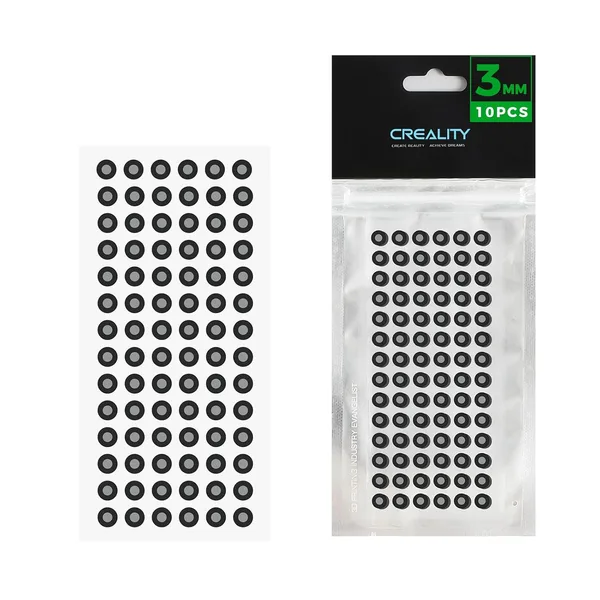
Creality's 3D Scanning Marker is simply a sheet of round stickers, 3mm in diameter, black-and-white or with a contrasting pattern, that you stick onto the object (or on the table around it) before scanning. The scanner recognizes these dots as unique reference points in space and uses them, rather than the object's own shape, to figure out where it currently is and how to stitch frames together. The idea isn't new — photogrammetry and surveying experts have used markers for decades; Creality just adapted the same trick for consumer 3D scanners.
Why bother, if the scanner already scans on its own
The problem markers solve is called "tracking loss" — the scanner losing its sense of position. This tends to happen in a few typical situations: the object is large and uniform (that same hood or door), the surface is symmetrical (a cylinder, a sphere, anything with a repeating profile), or you're not scanning a single object at all but something in a room — furniture, an interior — where the camera goes a long stretch without any distinctive features for the algorithm to grab onto. Without markers in these cases, the scanning software (Creality Scan, Revo Scan, EinScan, doesn't matter which) relies on the shape's geometry, and the moment that geometry becomes predictable, tracking breaks down.
With markers, things change. Stick a few dozen dots randomly across the surface or around the object on the table, and you can watch the tracking stabilize in the software immediately. I tried scanning a large flat part with and without markers: without them, three attempts, each falling apart around the halfway point; with them, a clean scan on the first try, no breaks at all. The difference isn't "a bit better," it's literally the gap between "works" and "doesn't."
A separate benefit — markers let you stitch multiple separate scans into one. If an object is too big to fit in a single camera pass, you scan it in sections, and shared markers visible in the frame help the software figure out how those sections fit together in space. Without reference points, that kind of manual stitching is a genuine headache of eyeballed guesswork.
Now for the annoying parts, because there are some
The main hassle is applying them and, more importantly, removing them. On a smooth part you need to show a client or print with a clean surface, leftover glue and sticker marks are quite the ordeal. Markers come off reasonably well from glass or metal, but on painted wood or plastic they sometimes pull paint off with them or leave a sticky film you end up scrubbing with alcohol for twenty minutes. Nobody mentions this in the promo videos, but in practice it's the most annoying part of the whole process.
Second thing — markers aren't a cure-all. For small objects with natural texture (figurines, patterned parts, gears), they're often unnecessary altogether — the scanner already has plenty to grab onto, and sticking tiny dots onto something the size of your palm is physically awkward, your fingers barely fit. So this is a tool for a specific class of jobs — large, smooth, symmetrical, or multi-scan objects — not a universal safety net for every situation.
Compared to how people improvise without markers
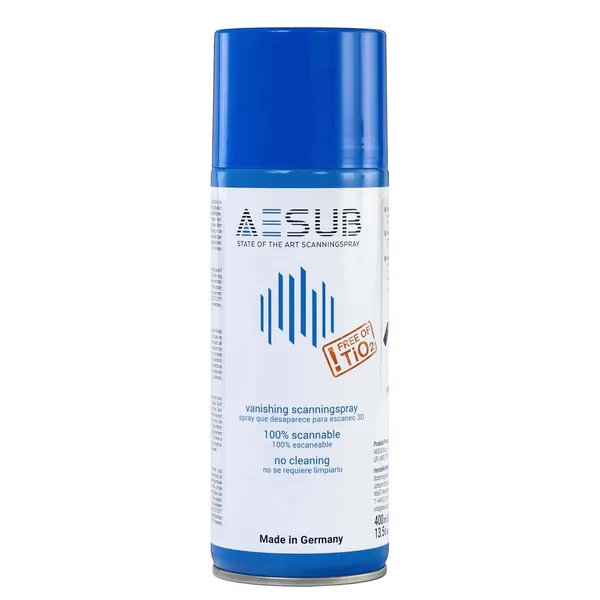
The most common workaround is temporary chalk or matting spray on the object, to kill glare and give the scanner at least some surface relief. That solves the reflective-surface problem, but not the symmetry or large-uniform-size problem — spray makes a surface matte, not unique for tracking purposes. In other words, spray and markers solve different problems, and on genuinely difficult objects (a large, smooth, glossy, symmetrical part) I actually apply markers on top of matting spray — together they cover nearly every case of lost tracking.
The second alternative is just bits of tape or marker pen directly on the surface. Cheap, but tape tends to peel off during turntable rotation more often, and marker pen on a painted surface is irreversible. Brand-name markers at least hold steady and carry a contrasting pattern specifically designed for algorithm recognition, rather than "something dark on something light."
Who should buy this, and who shouldn't bother
Get it if you regularly scan large, smooth, or symmetrical objects — car parts, furniture, industrial components — or you're stitching multiple scans together into one for restoration or reverse engineering. Here, markers aren't a luxury, they're literally the difference-maker for a predictable result.
Don't worry about buying it if your entire experience is small textured figurines and parts for 3D printing. The scanner already holds tracking fine there, and the hassle of sticking and peeling tiny dots isn't worth it.
The price here is symbolic — around $14 a set, which makes this the rare case where even if you only need markers once every few months, keeping a set in a drawer is cheaper than the frustration of a failed scan. For the full cost with shipping and import duty to your own country, check the landed price on the product page before ordering.
If you're putting together a full scanning kit, also check out the sprays for problem surfaces and turntables in the 3D printing and scanning catalog, and you can compare current supplier pricing right on the product page for this item.
FAQ
Mostly no. Small textured objects (seams, detailing, uneven surface) already give the scanner plenty to grab onto for tracking. Markers solve a different problem entirely — when the object is large, smooth, or symmetrical and the algorithm has nothing to hold onto.
From glass and metal — reasonably well. From painted or porous surfaces, the adhesive often leaves a film you need to clean off with alcohol. That's the part nobody mentions in the marketing, but it's the one that's most annoying in practice.
They're different tools for different problems. Spray removes glare from reflective surfaces; markers give the scanner reference points on symmetrical or uniform objects. For truly tricky cases (a large, glossy, symmetrical part), I use both together.
Technically yes, but tape holds up worse during turntable rotation and peels off more often, while the contrasting pattern on brand-name markers is specifically designed for algorithm recognition — tracking is less stable with a random black square.